SFC or System File Checker if run successfully solves most Windows system files issues but what if at the end of the SFC scan you receive an error ‘Windows Resource Protection found corrupt files but was unable to fix some of them’.
If you are unsure how to go about this error, then give this article a read as you will find some helpful solutions.
What is SFC/System File Checker?
If Windows doesn’t boot normally or some Windows functions are not working properly, you may be asked to run the SFC scan. This SFC tool scans and restores corrupt system files after which most systems issues will be resolved.
Some of the advantages of SFC are that it is a built-in tool readily available, takes only a few minutes to complete scanning and is not destructive (does not damage your data). Hence, thanks to these advantages, many users find this tool very useful.
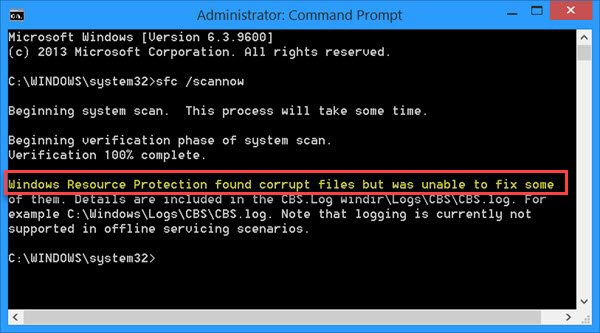
In some cases, if SFC finds corrupt system files upon scanning but cannot fix them, it will display the following error message.
‘Windows resource protection found corrupt files but was unable to fix some of them’
Solutions to fix the SFC error ‘Windows Resource Protection found corrupt files but was unable to fix’
Solution 1: Run SFC in Safe Mode
To enter Safe Mode, restart your computer and when you see the Windows logo appear, hit the F8 key
- You will be entered into a screen with Advanced Options
- Click Troubleshoot > Advanced Options
- Then select Start-up Settings > Enable Safe-Mode
Once you log in through Safe Mode, type ‘cmd’ in the taskbar search and open Command Prompt (Run as Administrator). When the command prompt window opens, type the following command.
‘sfc /scannow’ and hit Enter
The SFC scan will now run in Safe Mode. If it completes successfully, Safe Mode has solved the issue and you’re done here. If you still receive the same error, proceed to the next solution.
Solution 2: Run DISM
DISM, which stands for Deployment Image Servicing and Management is a well-known tool for repairing corrupt Windows systems files. It is particularly used when SFC isn’t able to resolve issues. For instance, in case of the error ‘, Windows Resource Protection found corrupt files but was unable to fix’.
To run DISM,
- In the taskbar search, type ‘cmd’
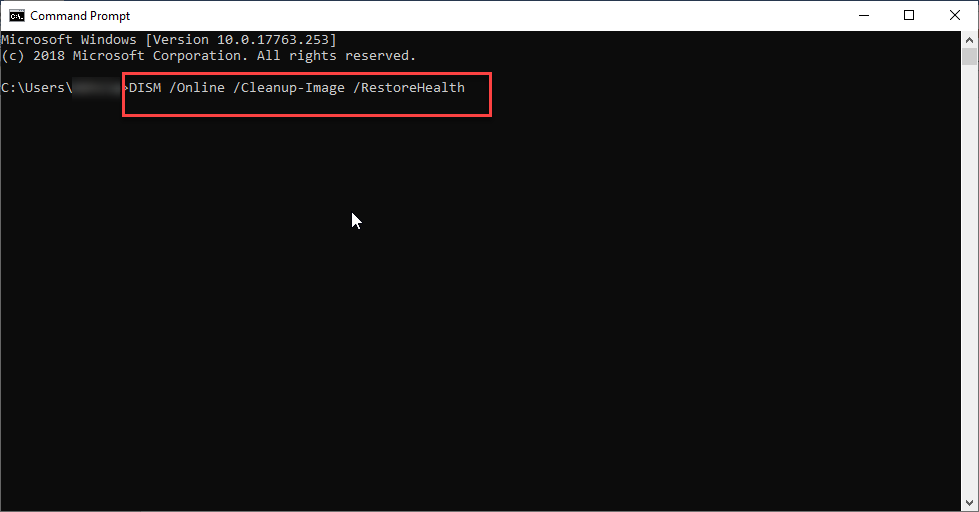
- Open Command Prompt using Run As Administrator and type the following command
‘DISM /Online /Cleanup-Image /RestoreHealth’
Please note that DISM usually takes longer than an SFC scan as it is pretty detailed. Also, please don’t interrupt the scanning progress at any time even if you think it is taking longer than usual.
If DISM completes successfully, restart your system and run SFC scan again to check if issues have been resolved.
Solution 3: Perform a reset
If you find that the SFC error still persists after performing Safe Mode SFC and DISM, then you can perform a system reset or refresh to resolve the error.
To reset your system, please follow the instructions below.
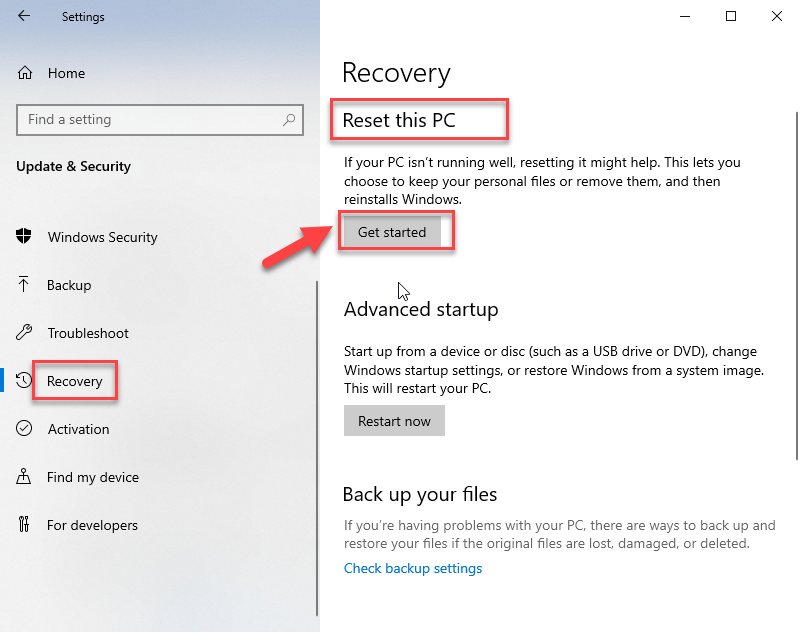
- Open the Start menu and select Settings
- Click Update & Recovery > Recovery
- Under Reset This PC without affecting your files, click Get Started
Then follow the on-screen instructions to complete the reset process.
Note: Even if you choose the option ‘Keep your files’ while resetting your PC, in some cases, you may find some files missing after the reset. So, always be sure to have a backup before you perform any of these reset or reinstall operations. If you need to recover files after a Windows reinstall, use Hi5 data recovery software as it performs complete recovery of all your data. It recovers system files, personal files of all formats like documents, images, videos, etc.